This tutorial will guide through installation process of HideIPVPN Mac OS X VPN software. You can download installer here.
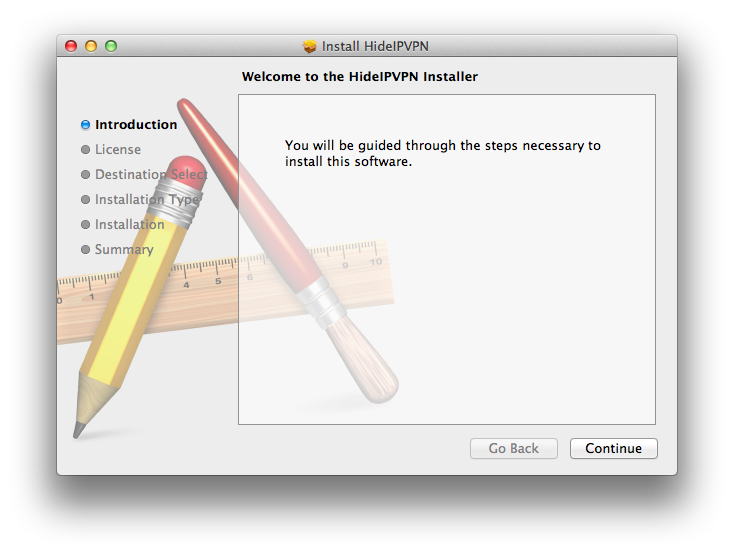
1. Start HideIPVPN Mac OS X VPN installer.
2. Click “Continue”.

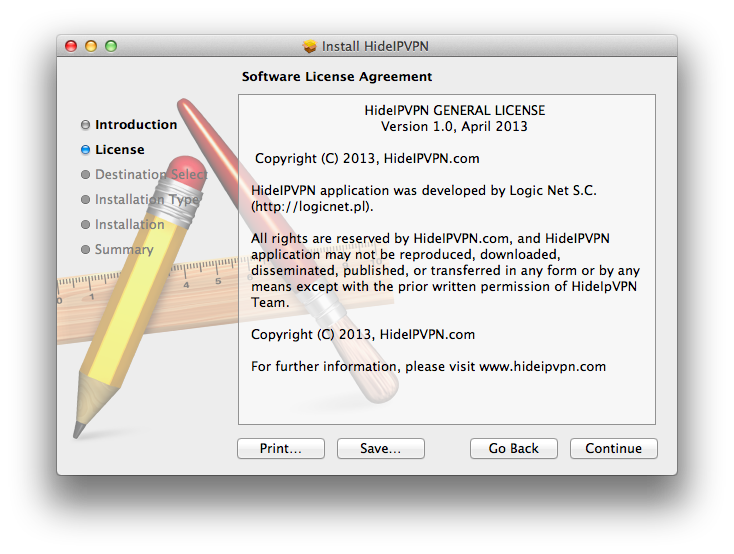
3. On next window with Software License Agreement click “Continue”.

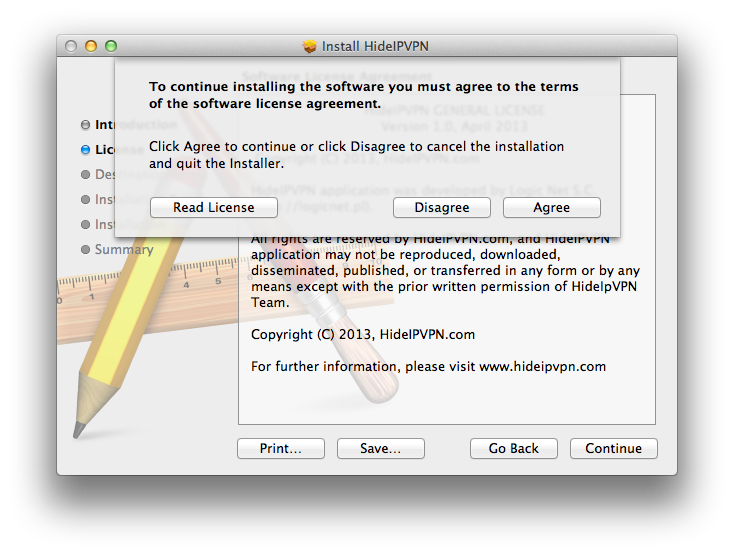
4. In order to proceed, you have to click “Agree” to terms of Licence Agreement.
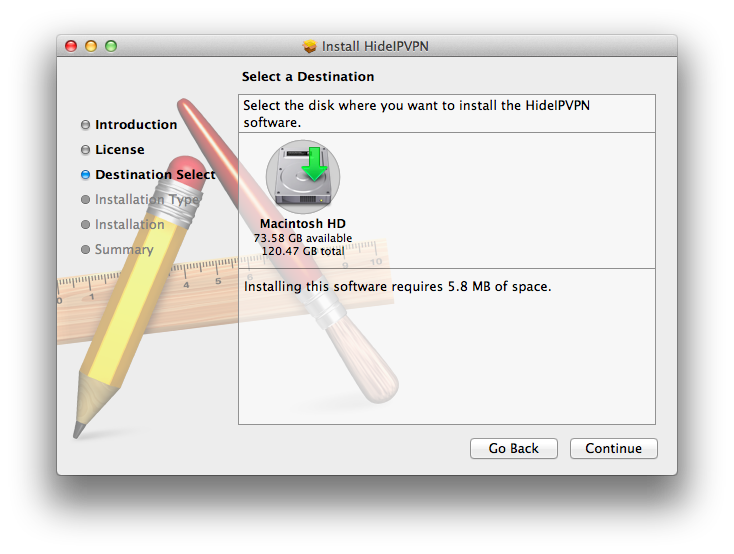
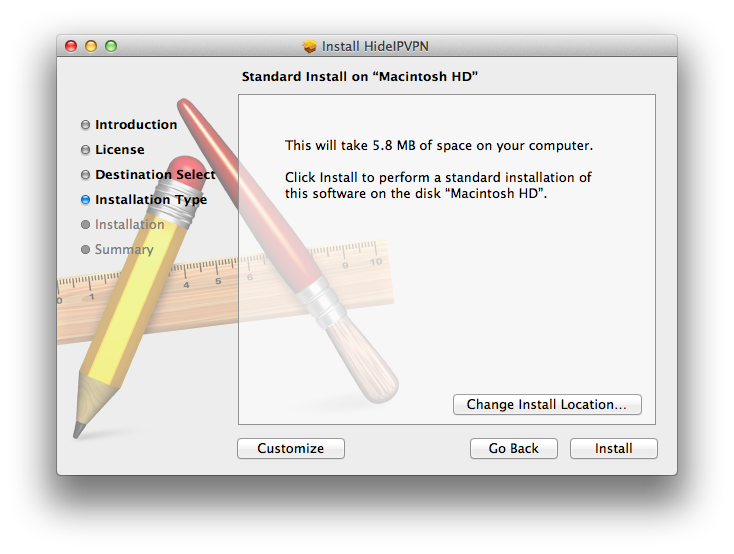
5. Choose where you want HideIPVPN Mac OS X application to be installed and click “Continue”.
6. Click “Install” to continue.
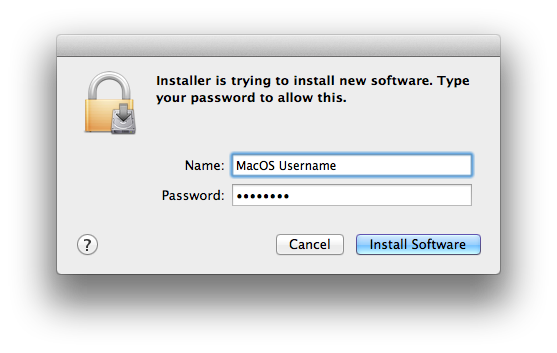
7. Enter your Administrator details and click “Install software”

8. “Close” installer when finished.

9. You will see “HideIPVPN” icon added to your Applications folder.


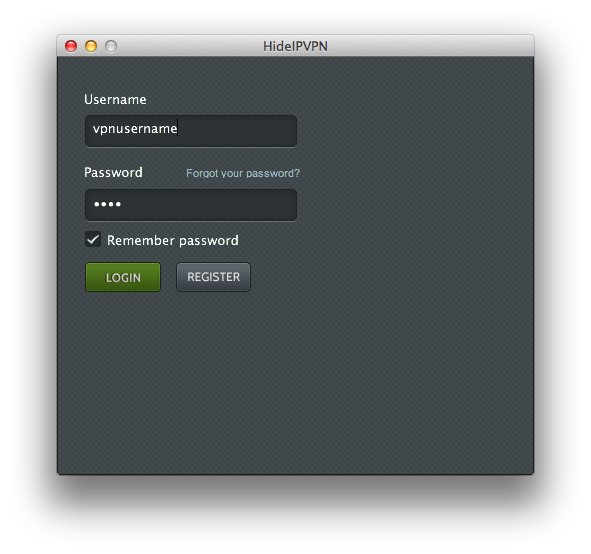
10. Start HideIPVPN Mac OS X application. Enter your VPN username, password and click “Login”.

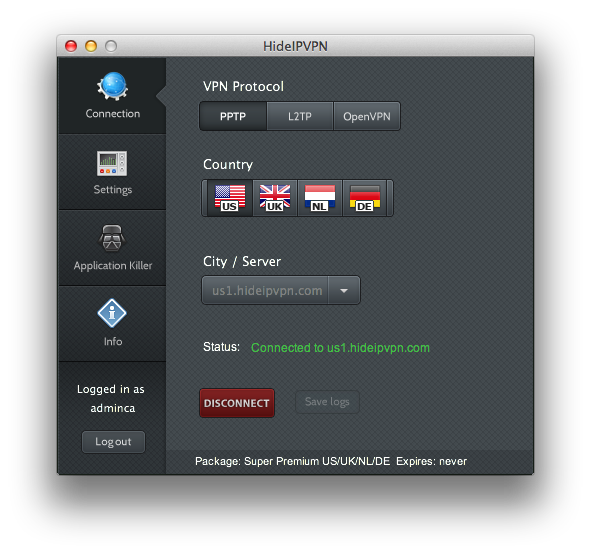
11. Now you can choose your preferred VPN protocol, Country you want your IP address from and VPN server you want to connect to. Click “Connect”.
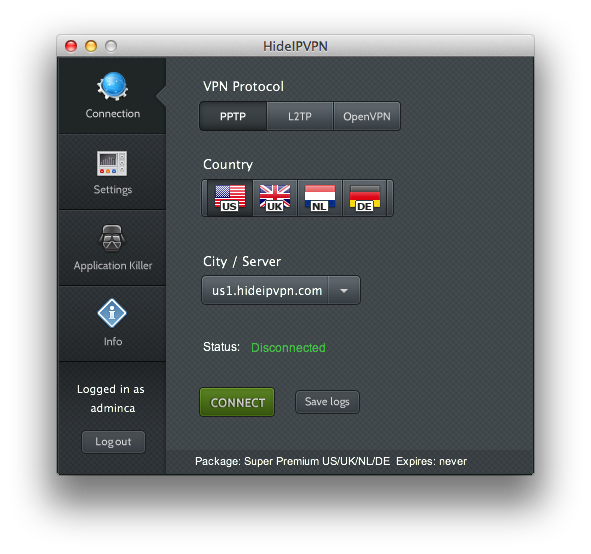
12. Once connected, button will change color to red and name to “Disconnect”.
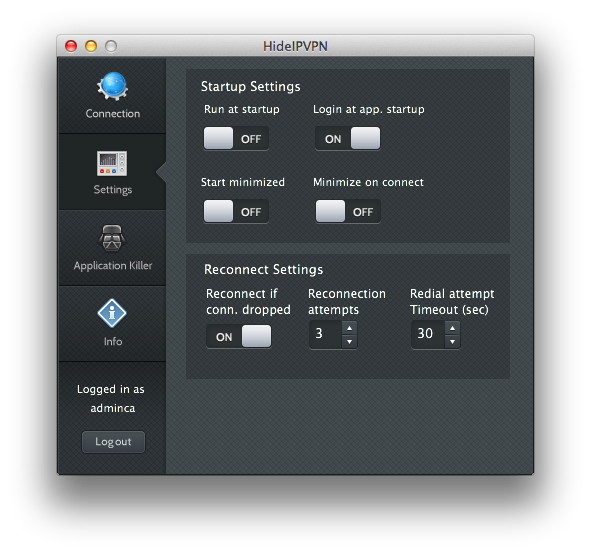
13. Don’t forget to peek at “Settings” tab to setup application that it works best for you.
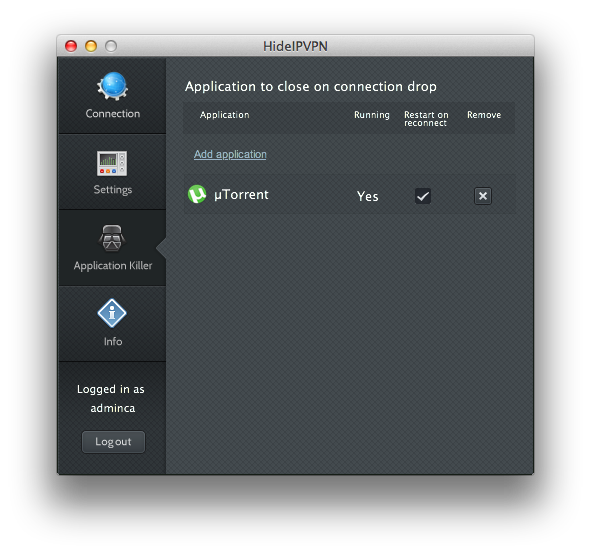
14. “Application Killer” tab will allow you to choose which application should be shut down if connection drops and if they should be restarted if you automatically reconnect to VPN (option for automatic reconnection is in “Settings” tab).
Remember, that you can also use our Smart DNS service instead of VPN. In order to use it, please log in to your “Client area” and make sure your IP address is updated. To find out more about Smart DNS user IP address update, please click here.