It’s pretty easy to set up SoftEther VPN Client on Windows 10. In this tutorial we will show you how to setup and configure SoftEther VPN on Windows 10.
Note:Before start, you need to have an active VPN account, if you do not have one follow the link –
Get FREE VPN trial account!
Setup SoftEther VPN Client on Windows 10
1. Download SoftEther VPN client for windows and start installation. In the second window please choose SoftEther VPN Client and press Next


2. Read User License Agreement, check the box “I agree to the end User License Agreament” and press Next. Same with Important Notices – Press Next.

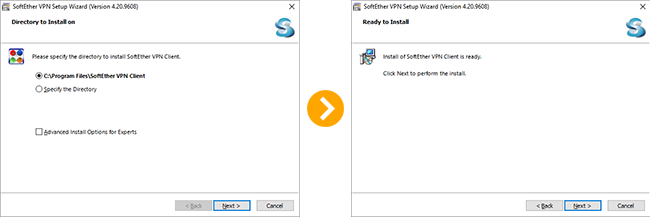
3. Choose the target directory to install and press Next. And confirm by pressing Next to start installation.
4. Once finished press “Finish”


Setup connection using SoftEther VPN Client
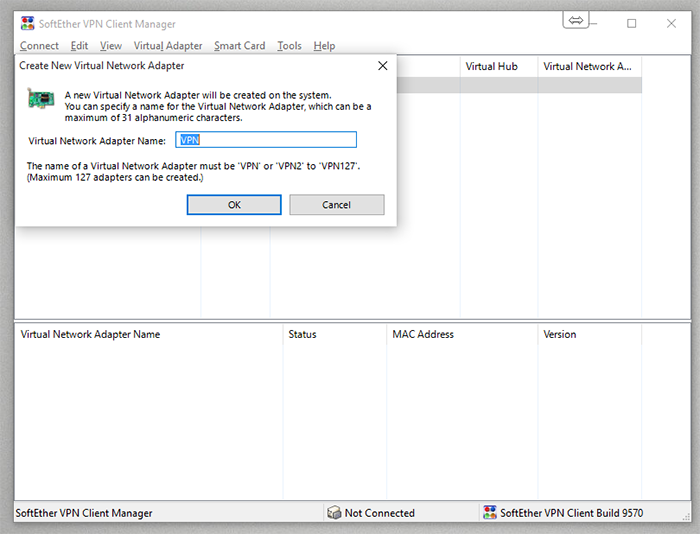
5. At the first start you will be asked to create a Virtual Network Adapter. Press “Yes”.


6. Assign a name to this Virtual Network Adapted. For Example VPN.

7. Once done, click on “Add VPN Connection” and start configure it:
– Type the name of this connection, for example HideIPVPN UK (1)
– In Host Name type server name you want to connect, for example uk1.sstpcon.com (2)
– Port Number: 1194 (you can also use port 443, 992, 2460, 3389, 5005, 5555). (3)
– Virtual Hub Name – hideipvpn
– Auth Type – select RADIUS or NT Domain Authentication (5)
– Type your VPN Username (6) and Password (7)
– Once done press OK (8)


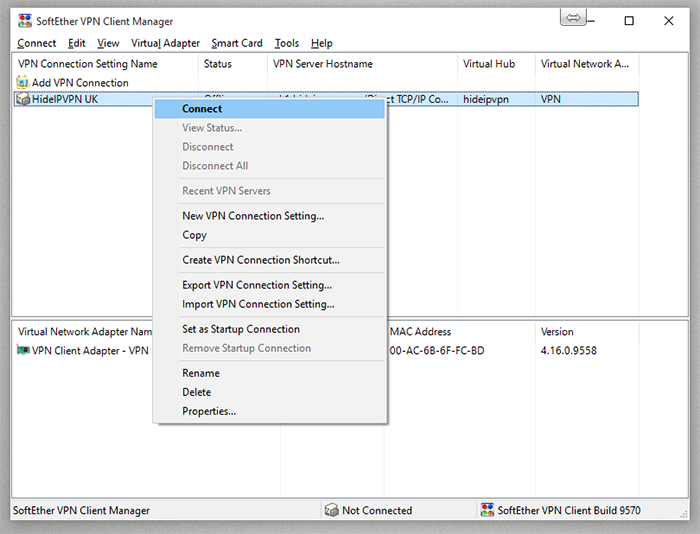
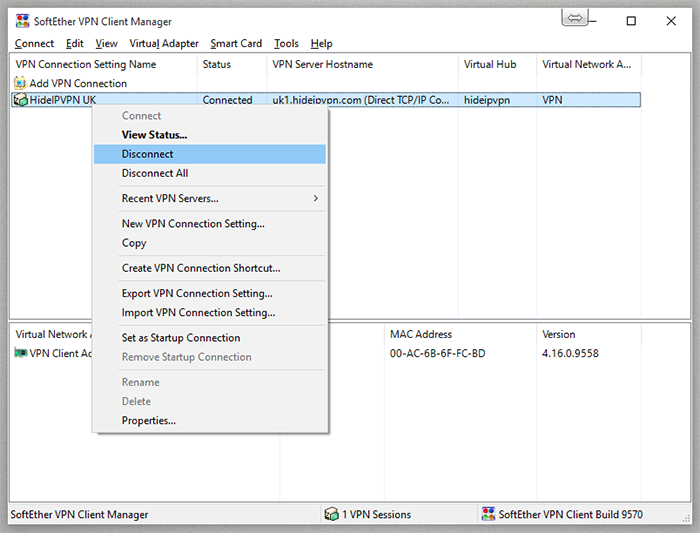
8. To connect press right click on the connection you’ve set. Then press Connect.
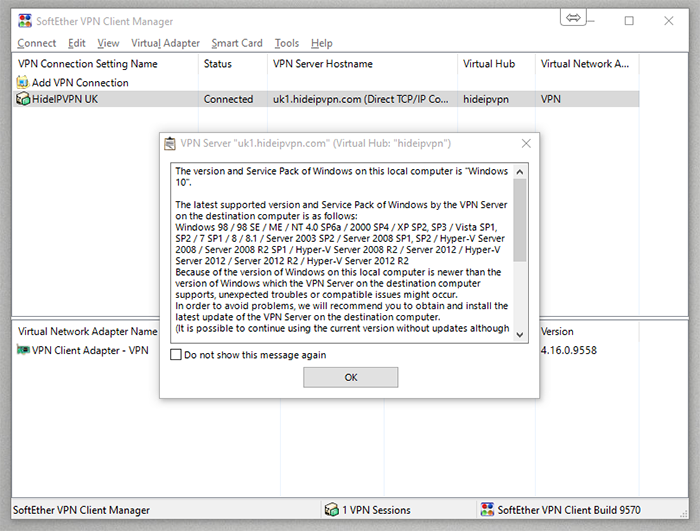
9. On the first connection an informative window will pop up. Just check “Do not show this message again” and press OK.

10. To disconnect same as in point 11, right click and Disconnect.

Now you’re done! Enjoy SoftEther VPN Client on windows 10.