

HideIPVPN is proud to announce that our PremiumVPN servers now support SoftEther VPN protocol. This tutorial will help you to configure it on Windows 10.
Before starting, if don’t have a VPN account you must get it – Get FREE VPN trial account!
We will try to write a bit more about this protocol in future (it means to be one of the most versatile protocols ever), but for now let us tell you how you can benefit from this option. In order to use it, you need to have a VPN client that supports this VPN protocol. You can download SoftEther free VPN-client for Windows under this link. Now, this is what you need to do:
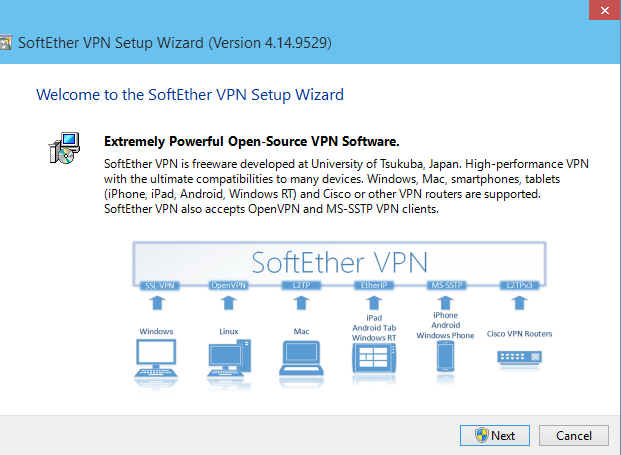
1. Start Installation.
2. Click “Next

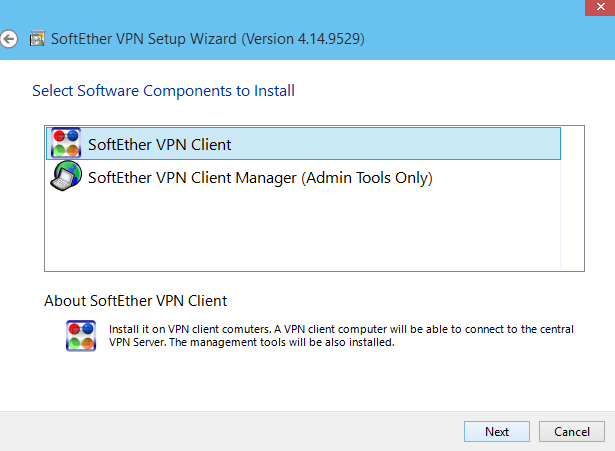
3. Choose “SoftEther VPN-Client” and click “Next”

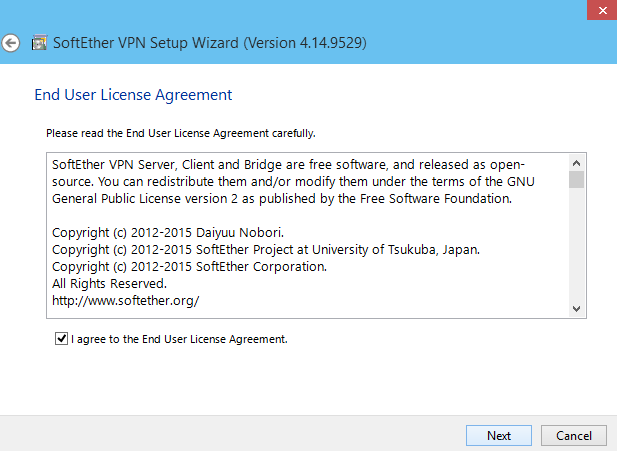
4. Check “I agree to the end user License Agreement” box and click “Next”

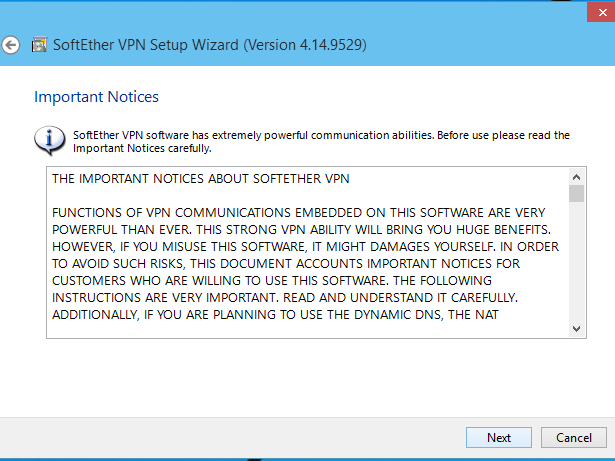
5. On the “Important notice” screen click “Next”

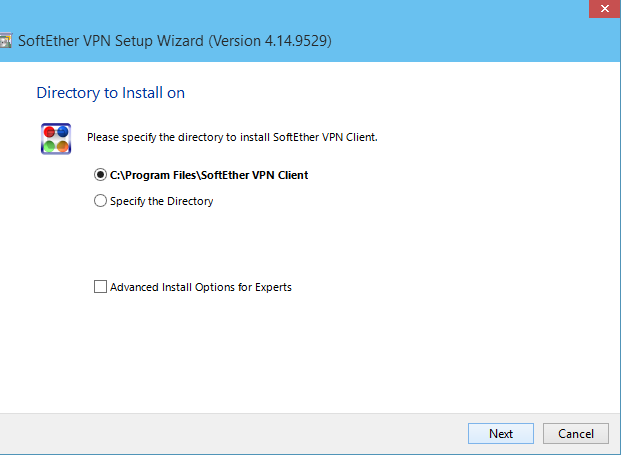
6. Choose the directory to install the software and click “Next”
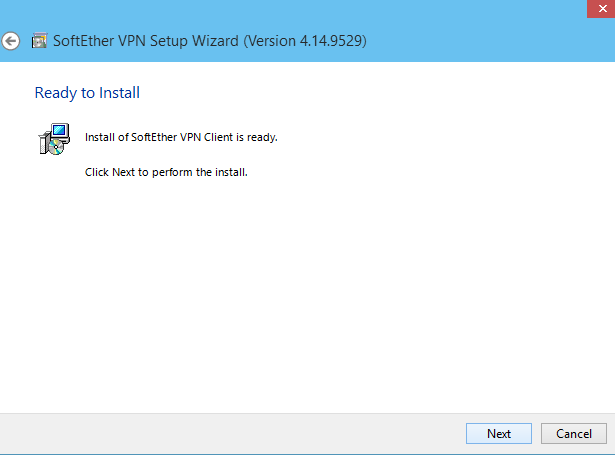
7. Click “Next”. The Installation process will start.

8. Once the installation process is finished click “Finish”


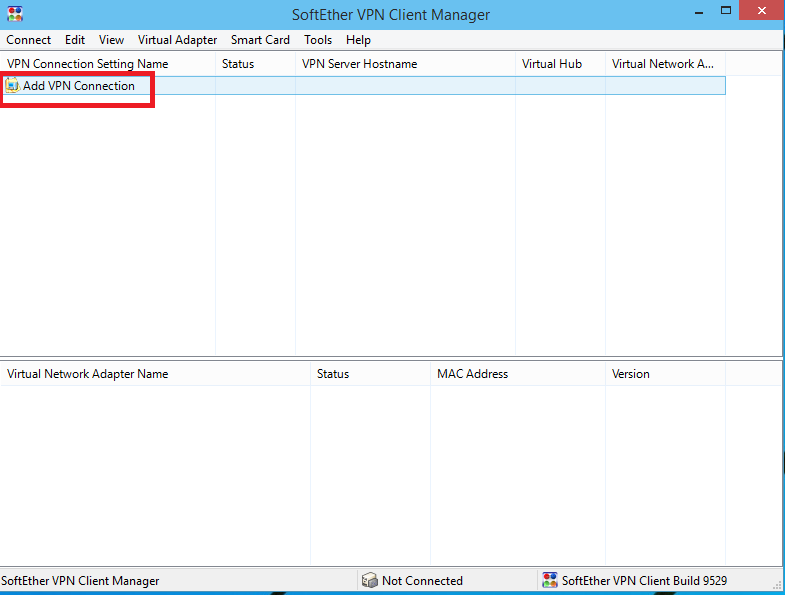
9. In the main screen click “Add VPN connection”

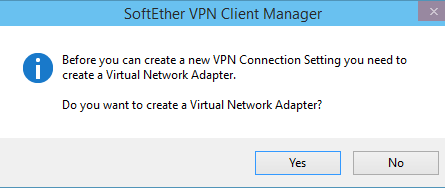
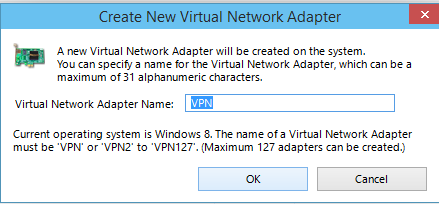
10. A message box will appear asking if you want to create a Virtual Network Adapter. Click “Yes”


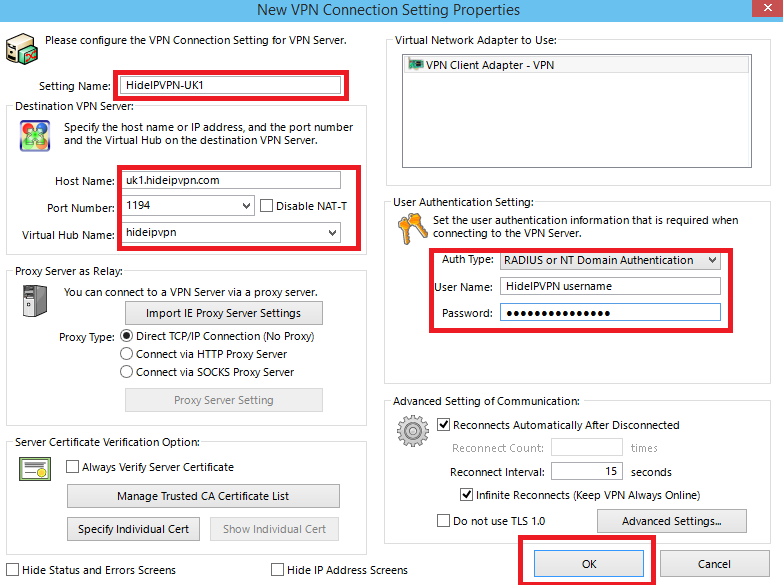
11. In the “New VPN Connection Setting Properties” window enter the following parameters:
a). Setting Name type: HideIPVPN-UK1 (or any other name you want).
b). Host Name: Add hostname or IP address of the desired server (you can find it under your package in client area).
c). Port Number: 443 (you can also use port 992, 2460, 3389, 5005, 5555).
d). Virtual Hub Name: Select “hideipvpn” from drop down menu.
e). Auth Type: Select Radius or NT Domain Authentication.
f). Username: HideIPVPN username.
g). Password: HideIPVPN password.
h). Click “OK” to create a VPN connection.

12. To connect to VPN right click on your VPN connection and click “Connect”
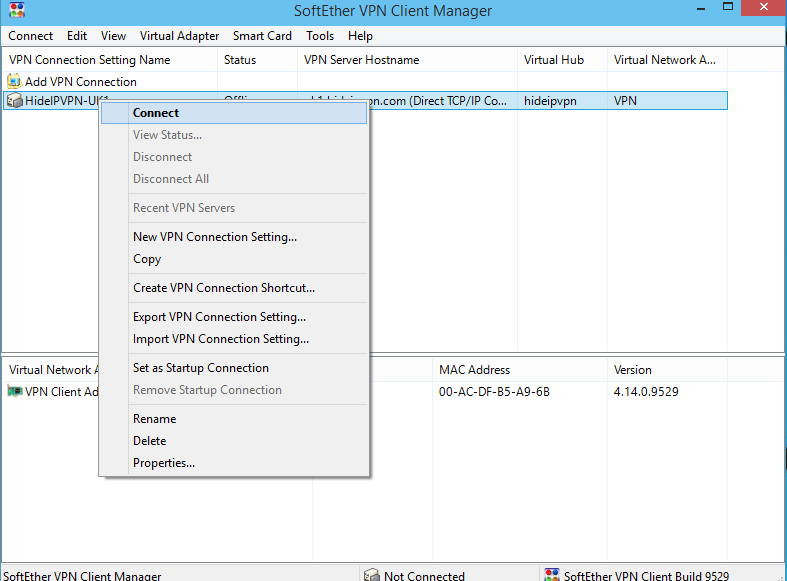

13. To disconnect from VPN right click on your VPN connection and click “Disconnect”

