Update your original IP address in our data base before using Smart DNS.
Now, that you IP is updated there is only one thing left to do. You need to change numbers of DNS servers on your device.
Setting up HideIPVPN SmartDNS service iPad (iOS) is very simple.
1. Go to “Settings and tap on WiFi”.
2. Choose your network (tap on info icon), on which you would like to change your DNS setting.


3. Click on “configure DNS” and select manual option
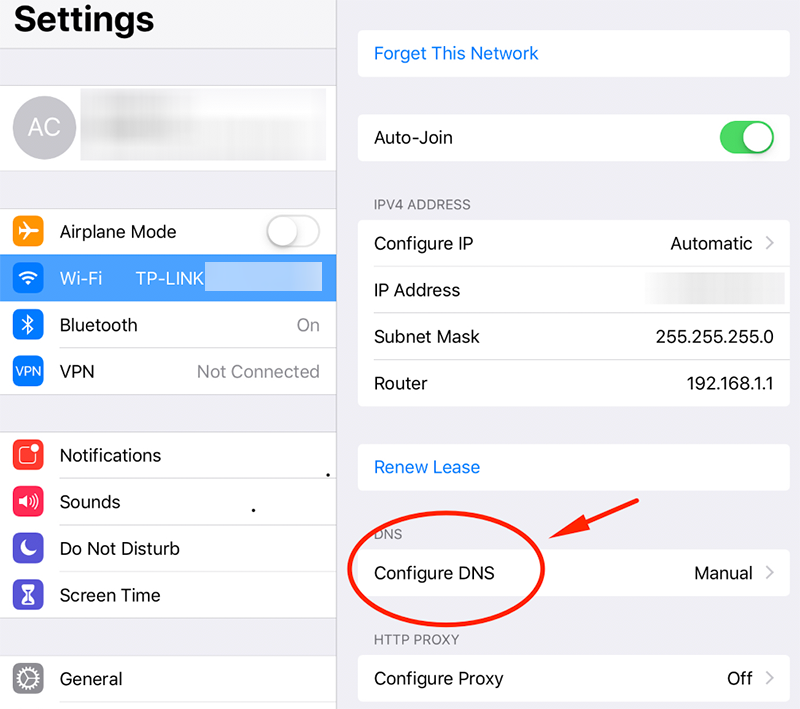

4. Tap on your DNS and Change DNS server address, Click here to check HideIPVPN DNS server addresses.
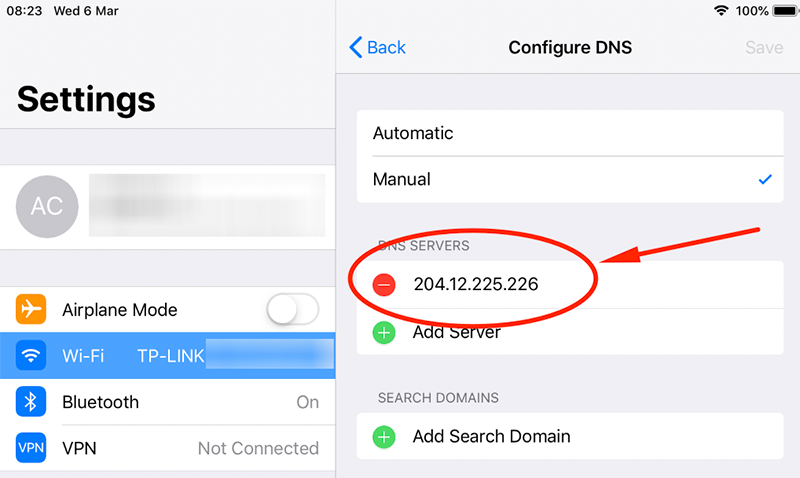
5. Remove current DNS and click on + to add our DNS servers. Once done click on “Back” to save changes, then on Wifi.

To find out what sites and services are unlocked via SmartDNS, follow the link.