

Before starting, if don’t have an active VPN or Smart DNS account follow the link – Get FREE VPN trial account!
Change Region on Samsung Smart TV – F series and J Series
To change region on Samsung Smart TV, follow these instructions, they are pretty simple:
1. Press on your remote control Sourece Button


2. Choose “TV” source. (1)


3. Press “Menu” on your remote control.


4. Choose “Setup” (If you are not able to choose “Setup” go to “Support” > “Self Diagnosis” > “Reset”).

5. Then select “Self Diagnosis”


6. And select “Reset”.


7. You could be asked to enter PIN code. By default it is usually set up as: 0000 ( four zeros). In case you’ve changed it before, you’ll have to type the new one.
8. Once done, you will warned that all settings, except network settings, will return to factory defaults. Continue the set up (your previous information will be available). Press “Yes”.
9. You TV will restart and you’ll be able set it up.


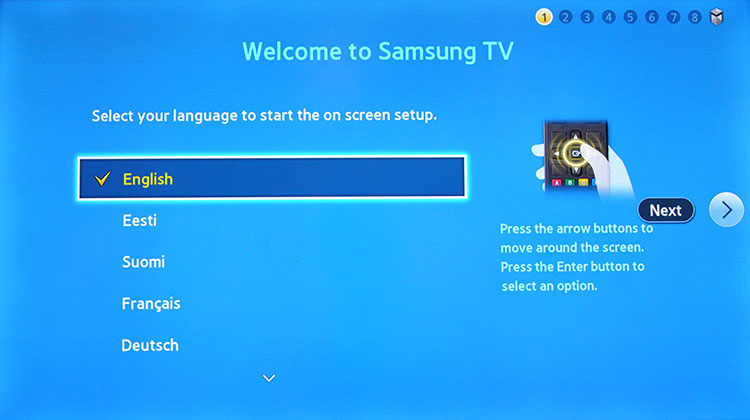
10. After restarting choose Language

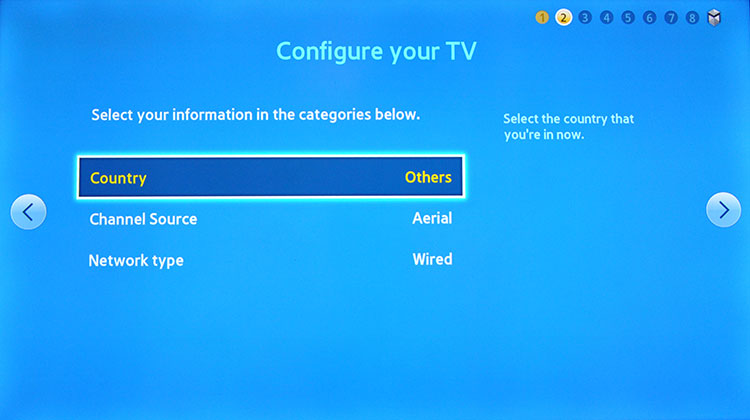
11. Set Country as “Others”.
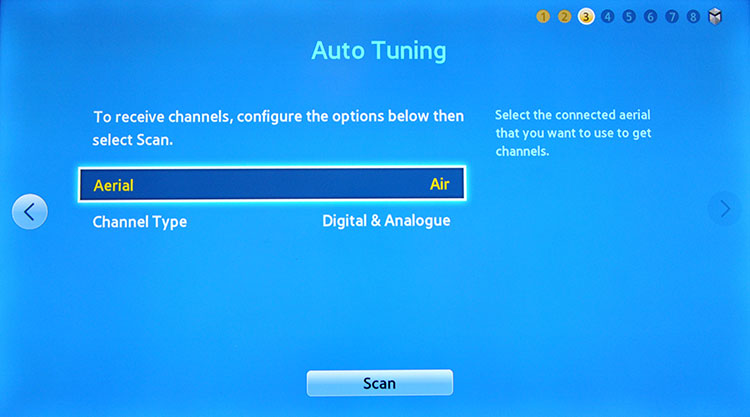
12. Start Scan channel. At the next step you’ll be able to stop it.

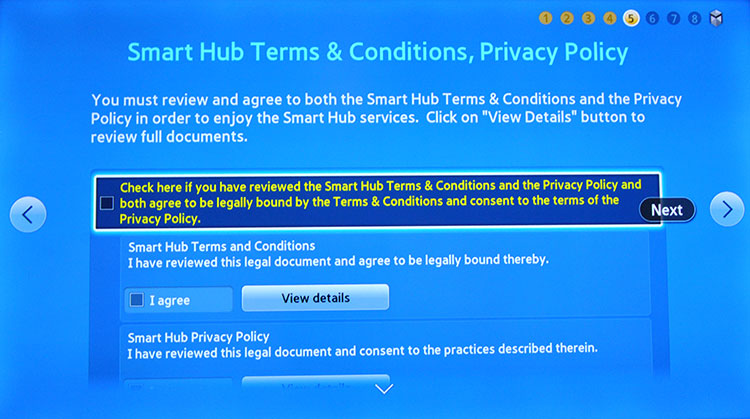
13. When you come to the “Terms & Conditions, Privacy Policy” page, stop the setup.

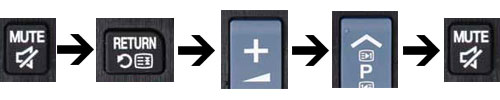
14. On your remote press consecutively: “mute”, “return”, “volume+”, “channel up”, “mute”.

15. Once done correct, on your screen will appear “Internet Service Location Setup” window.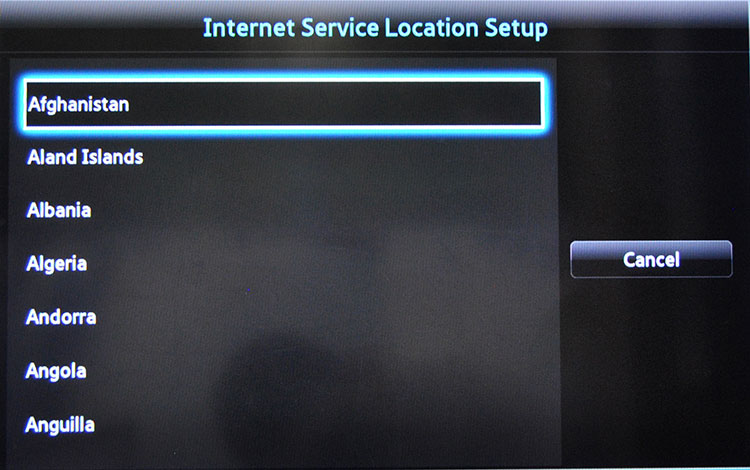

16. Choose the country, from where, you wish to install the apps. For example United States or United Kingdom.
![]()
![]()

17. After you selected country you want, check Smart Hub Term & Conditions, Privacy Policy and press Next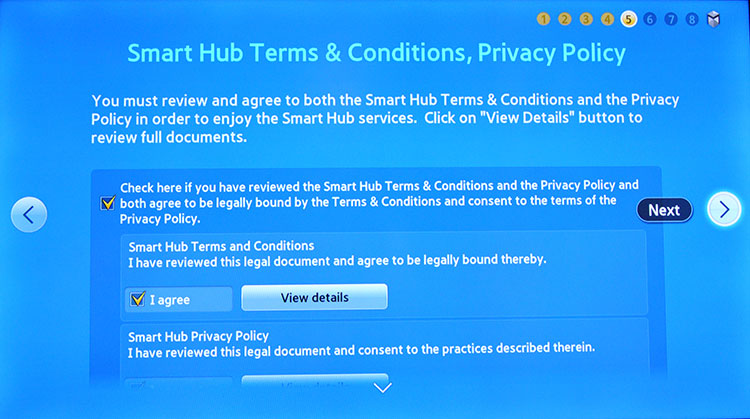
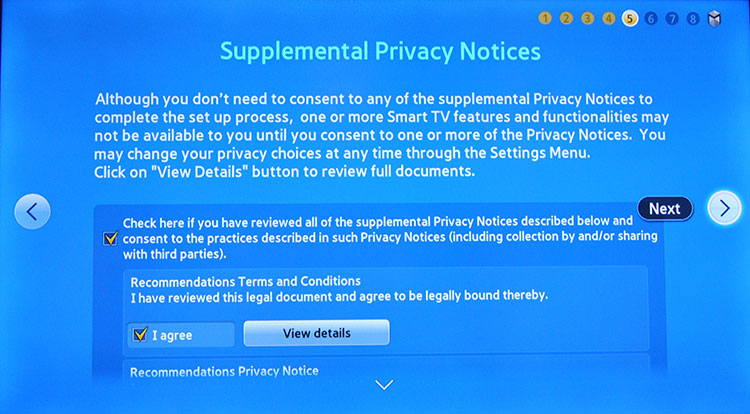
18. Also check Supplemental Privacy Notices and press Next.

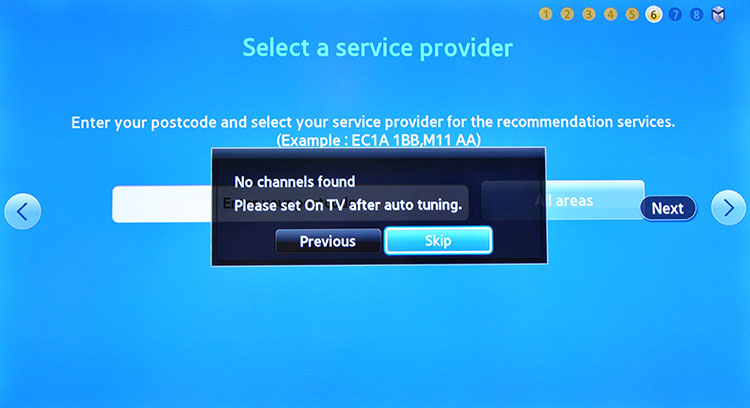
19. Select a service provider or skip this step for later setup.

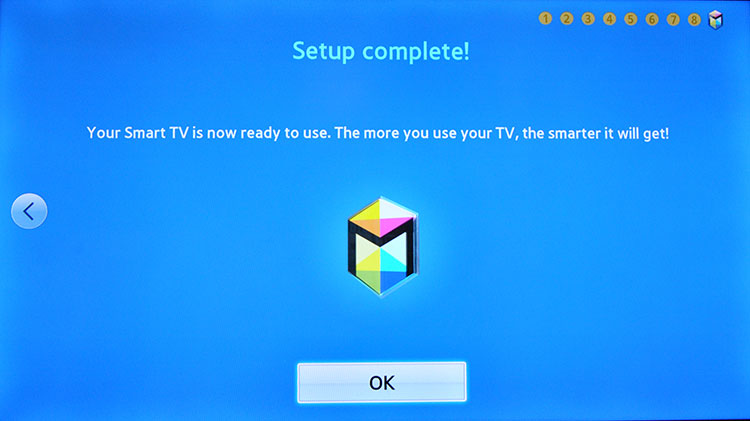
20. When Setup is complete, press OK and restart your Samsung TV
21. Once you’re done don’t forget to log in your Samsung account and setup SmartDNS on your Samsung Smart TV . Now you’re done! Enjoy Smart DNS from HideIPVPN.