In this tutorial, we will show you how to set up WireGuard VPN on Windows but first let’s see what are our requirements and recommendations.
Important
You will need an active vpn package. If you don’t have one try our VPN for free
Generate the Wireguard configuration
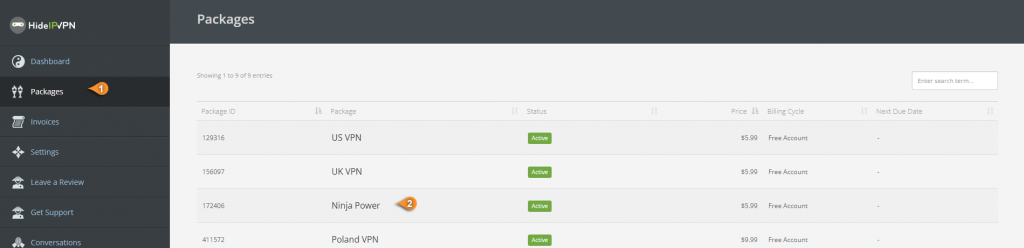
- Now you need to access Wireguard tab in your package details. Sign in to your Client Area. Then go to Packages (1) and select your active package (2).
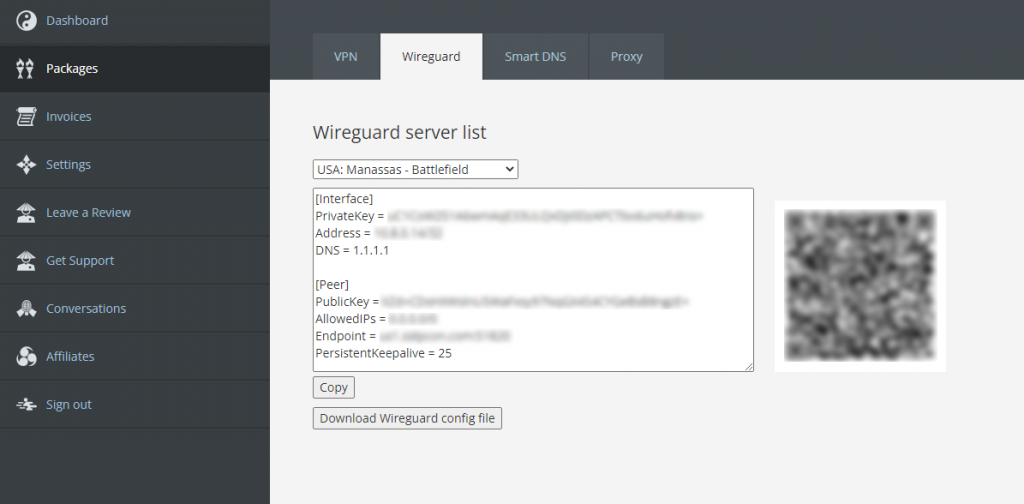
- Once you have accessed your package details click on Wireguard tab
- Select the VPN server you want to connect to.

In the field below, you will get the Wireguard configuration for the selected server. Copy the content of the field, you will need it later.
Important! Keep the PrivateKey a closely guarded secret, do not share it with anyone and do not post it on the Internet. This is your personal key, similar to your private username & password on HideIPVPN.

Install WireGuard
- First, you will need to download Wireguard
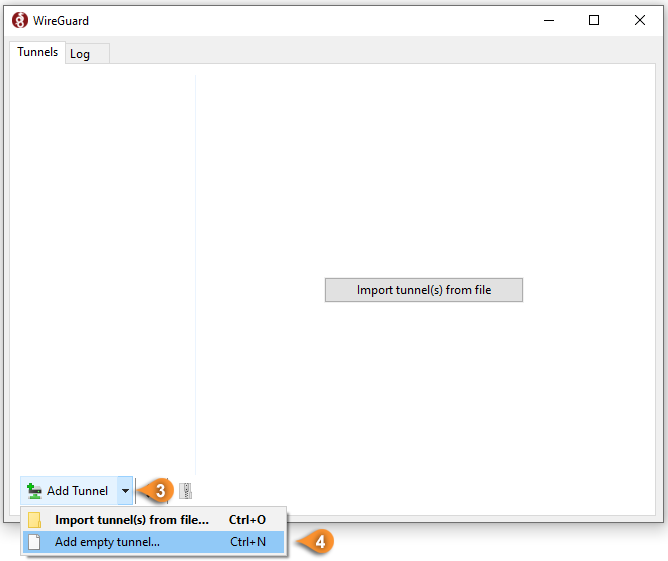
- Once installed launch application, select “Add Tunnel” , click on the arrow (pin 3) and select “Add empty tunnel” (pin 4 )
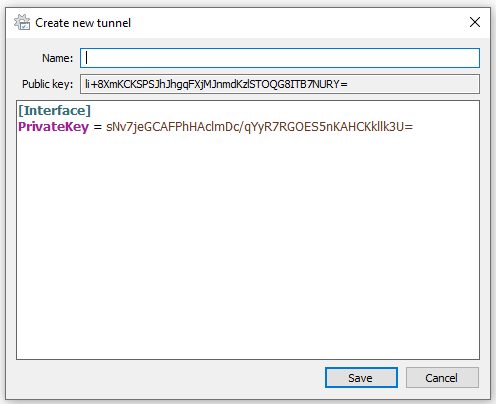
- An empty tunnel with a default Private Key will be generated.


Configure WireGuard
- Delete all the automatically generated content from the field.
Type the name of the tunnel (for example: HideIPVPN). Paste the WireGuard configuration you’ve copied at step 3, previous section.
Make sure that the “Block untunneled traffic (kill switch)” (pin 5) is checked if you want to enable the kill switch and click on Save.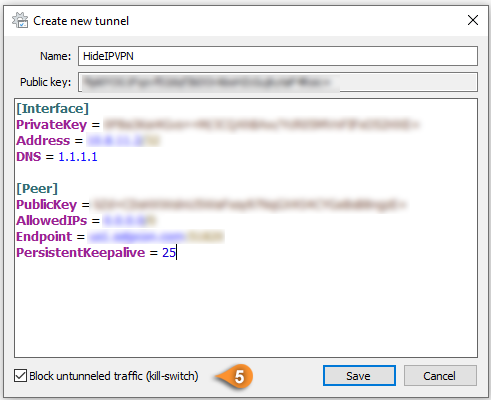
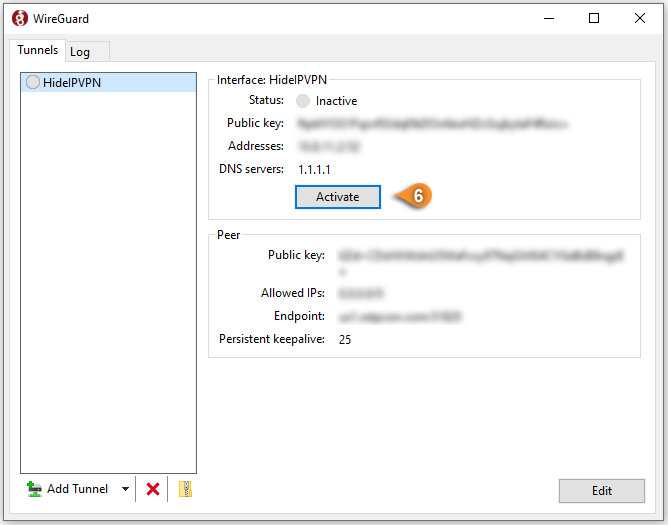
- Click on Activate to connect to VPN. (pin 6)
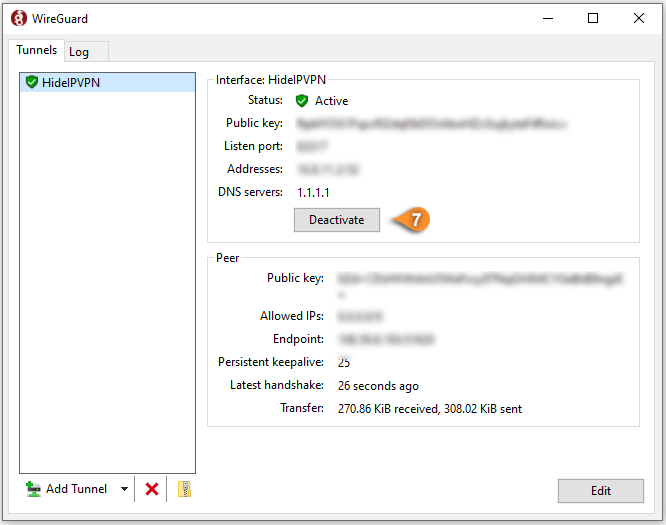
- You are connected via WireGuard VPN protocol. Click Deactivate if you want to disconnect. (pin 7 )
“WireGuard” is a registered trademark of Jason A. Donenfeld.


