Before starting please make sure that you have updated your IP Address. This is very important. If your IP is not updated you won’t be able to access region-locked apps.
Now, that your IP is updated there is only one thing left to do. You need to change numbers of DNS servers on your device.
Set up SmartDNS on PlayStation 3 is quite simple.
If you change DNS setting on your router (through which PS3 connects to the internet) you can skip this instruction, how ever, if you wish to change DNS servers for specific devices, here are the steps:
1. Select ![]()
![]()


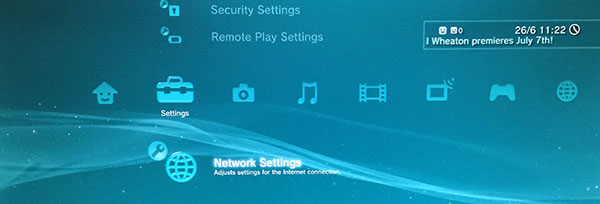

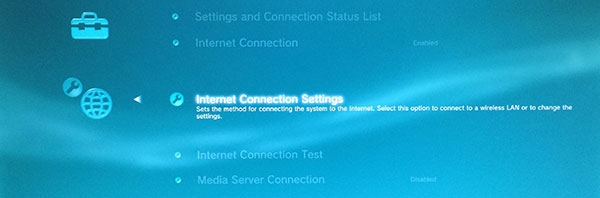
2. Select “Internet Connection Settings”, then choose the network you want to connect.

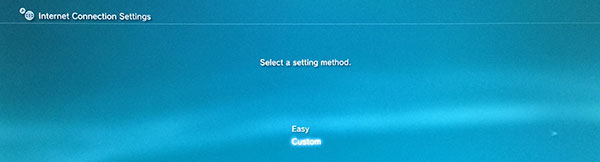
3. For setting method select “Custom”

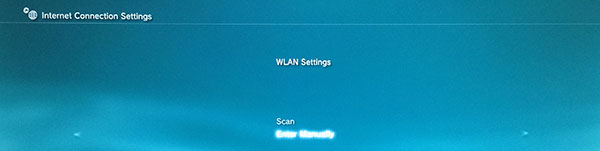
4. Once you are connected select “Enter Manually” in WLAN Settings

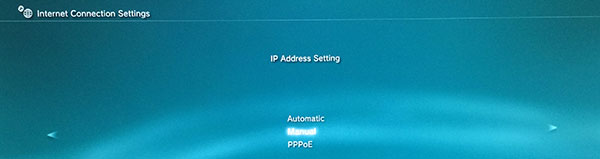
5. Choose “Manual” when you are IP Address Setting menu

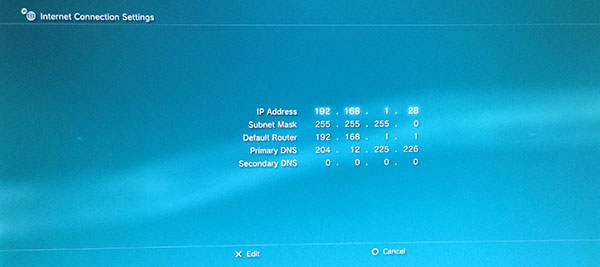
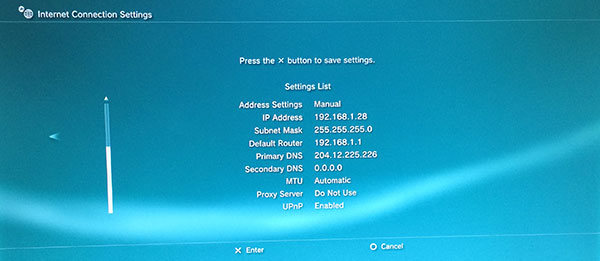
6. Set up your local IP, Subnet Mast and Default Router. For Primary and Secondary DNS please use HideIPVPN DNS. You can find then in your Client Area. Once completed continue with next step.

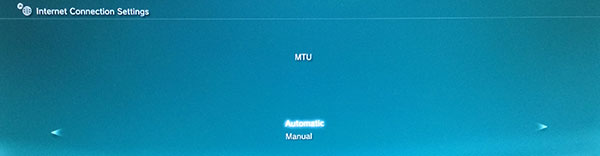
7. MTU select Automatic.

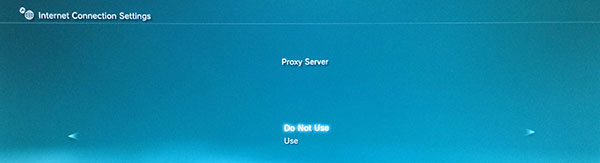
8. Do Not Use a Proxy Server.

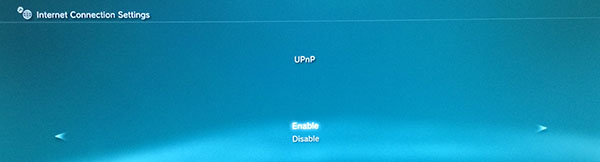
9. And Enable for UPnP
10. Verify all settings once again and press X to save.

Now you’re done. Enjoy SmartDNS from HideIPVPN!