How to: Apple TV Smart DNS tutorial
Last updated on March 26th, 2015 in Setup

Update your original IP address in our data base before using Smart DNS.
Now, that you IP is updated there is only one thing left to do. You need to change numbers of DNS servers on your device.
Setting up HideIPVPN SmartDNS service on Apple TV is very simple.
1. On Apple TV, go the Settings> General > Network
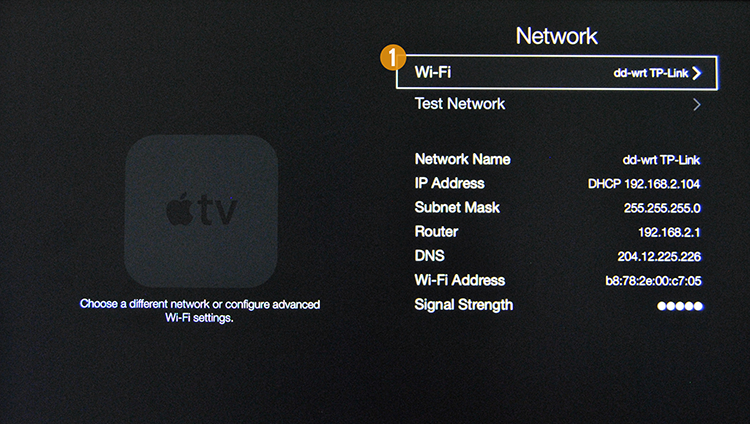
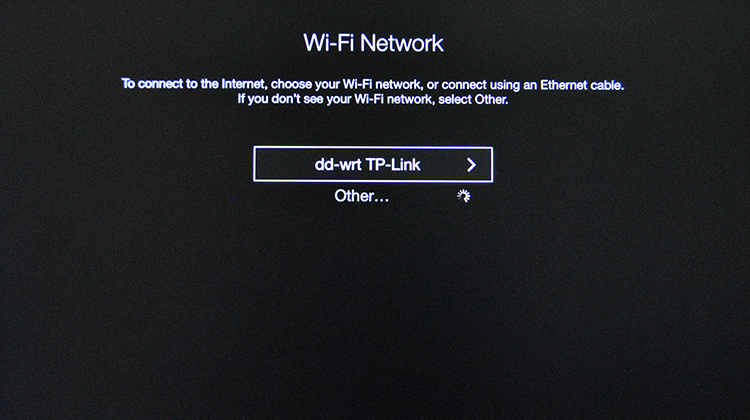
2. Choose Wi-Fi network or Ethernet if you have cable connection. For wireless network you’ll have to select your Wi-Fi network. (1)
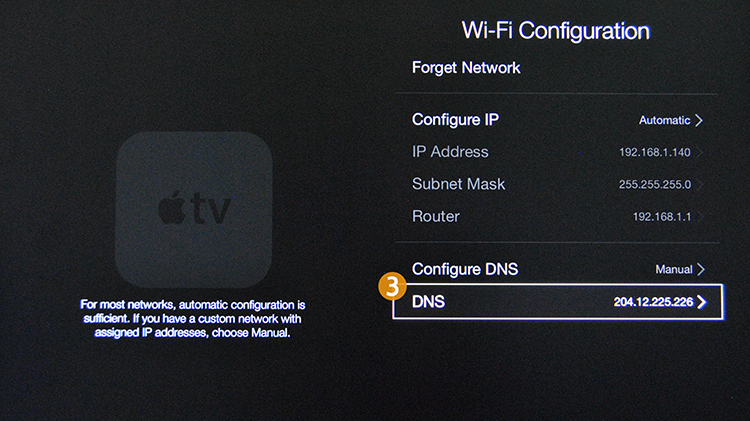
3. Go to Configure DNS and change to Manual. (2)
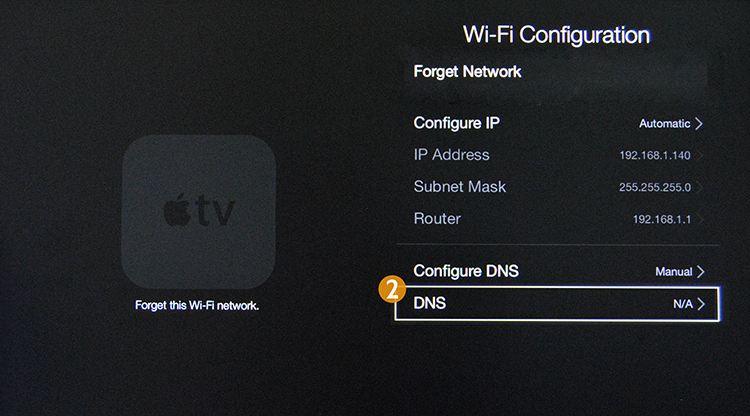
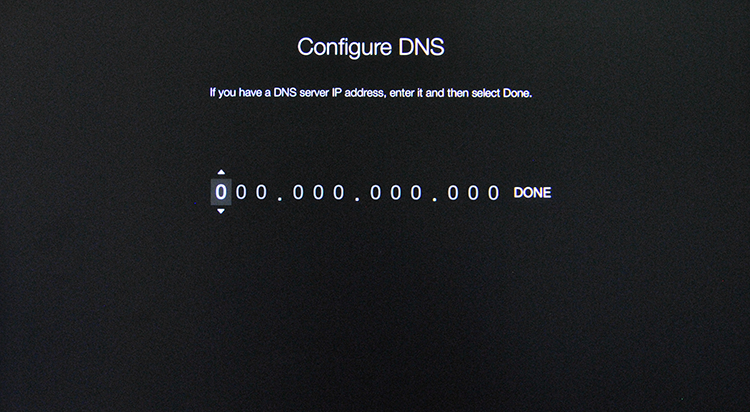
4. Enter Smart DNS servers addresses and click “Done“.
Click here to check HideIPVPN DNS server addresses.
5. Confirm on “WiFi-Configuration” screen that Smart DNS address are the numbers you entered. (3)
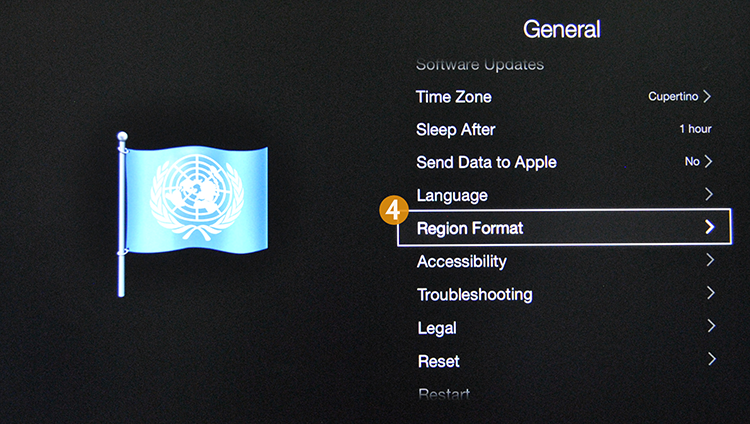
6. Go to Settings > General and choose Region Format (4)
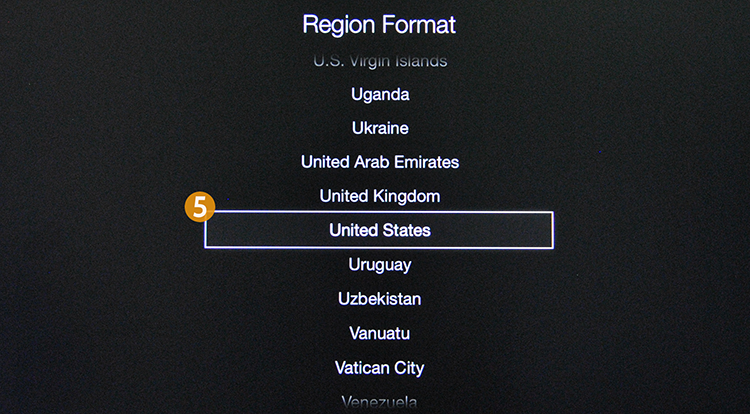
7. Select region format “United States”
8. Return back to the main screen.
9. Put the Apple TV to sleep with the Sleep Now command.
10. Unplug the Apple TV power cord
11. Wait 10 seconds
12. Plug the Apple TV back in
Now you have set Smart DNS on your Apple TV.