How to setup OpenVPN Connect on Windows 10

Last updated on January 19th, 2022 in Setup

This tutorial will help you to install OpenVPN Connect so you could install and use OpenVPN on Windows 10.

Steps to setup OpenVPN Connect on Windows 10

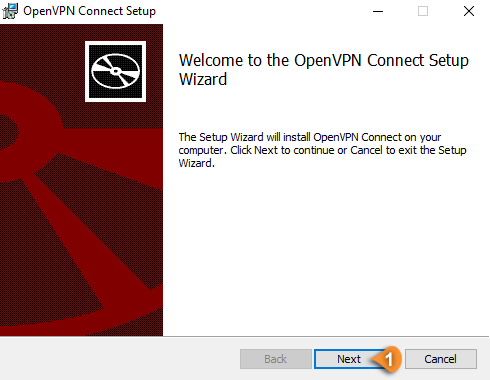
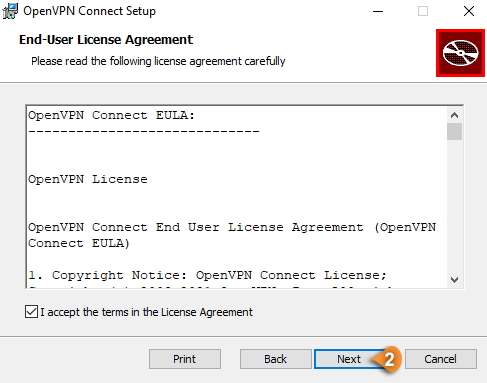
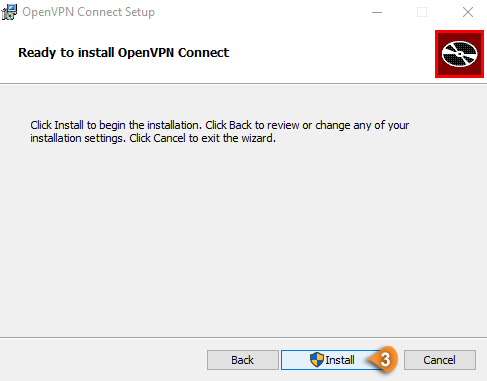
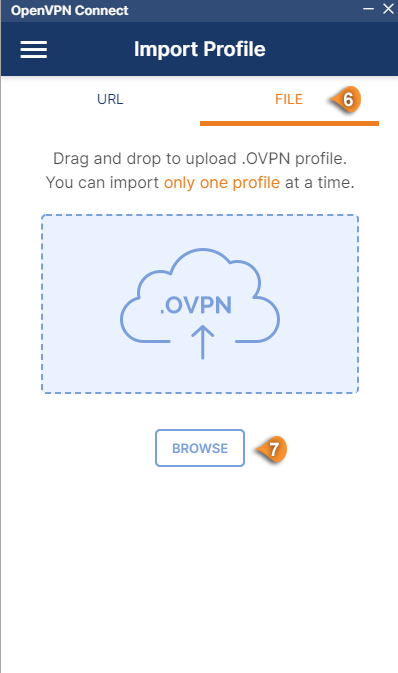
You have to install OpenVPN Connect in order to install OpenVPN on Windows 10.

  1. Please download the OpenVPN Connect app from here, open the OpenVPN Connect installer and click on the “Next” (pin 1) button.


    openvpn connect next

  2. Check the“I accept the terms in the License Agreement box and click “Next” (pin 2).

    openvpn connect license agreement

  3. Next click on the Install (pin3) button.

    openvpn connect install

  4. Once installed, click on the Finish (pin 4) button.

    openvpn connect finish install

  5. Open the OpenVPN Connect app and click on “Agree” (pin5).

    openvpn connect data retention

  6. You’ll have to download OpenVPN config files and unzip them.
  7. Open again the OpenVPN Connect app and select the FILE (pin 6) tab to upload the HideIPVPN config files.
    Click on the Browse (pin 7) button and select a VPN server from the OpenVPN config files.

    openvpn connect import profile

  8. Enter your VPN username, then click on the “Save password” checkbox and enter your VPN password and click on the Connect (pin 8) button.

    openvpn connect establish connection

  9. Move the slider (pin 9) to “ON” or “OFF” to connect or disconnect from VPN.

    openvpn connect toggle

  10.  Click on the ”+” (pin 10) button to add more profiles.

    openvpn connect add profile
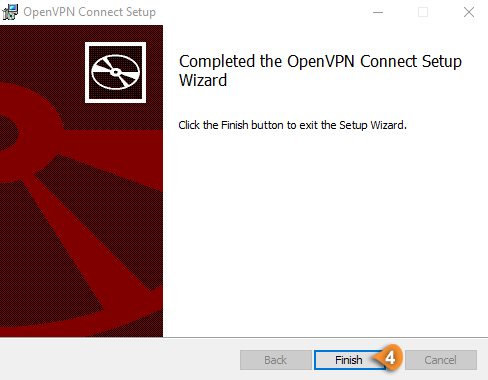
Now you’re done! Enjoy a fast and cheap VPN with HideIPVPN!

« Back

VPN Trial

3 days
Hide your IP.
Encrypt your traffic.
Enjoy your privacy.
Start Now

Smart DNS Trial

7 days
196 Unblocked websites.
Unlimited devices.
Original ISP speed.
Start Now

HideIPVPN Promo