How to setup Smart DNS on Apple TV (4th generation)
Last updated on December 10th, 2015 in Setup
 Welcome to HideIPVPN! In this tutorial you will find out how to setup Smart DNS on Apple TV (4th generation) and unblock geo-restricted apps like Hulu, HboGo and many more.
Before starting, if you don’t have a VPN or Smart DNS account you must get it – Get FREE VPN trial account!
Update your original IP address in our data base before using Smart DNS.
Once your IP is updated you just need to change numbers of DNS servers on your device. Follow next steps.
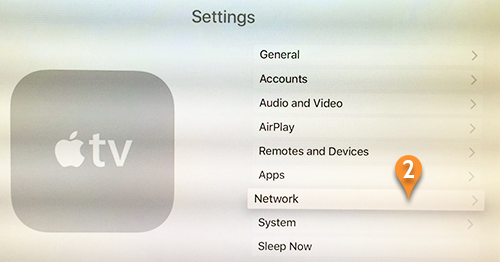
1. Start your Apple TV and go to “Settings” (1).

2. Then scroll down and select “Network” (2).
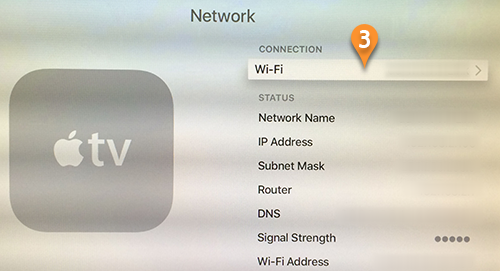
3. Press on Wi-Fi (3).
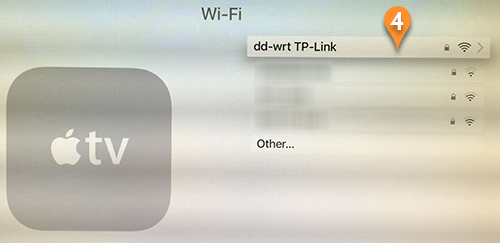
4. Please select you Wi-Fi network (4)
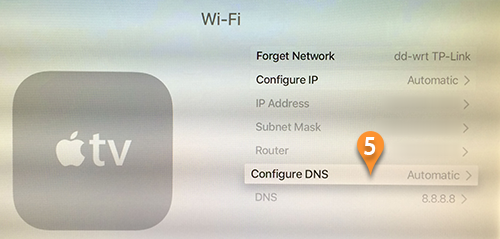
5. Once selected, please scroll down and press on “Configure DNS” (5).
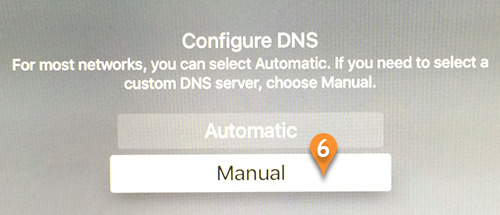
6. Then choose “Manual” (6).
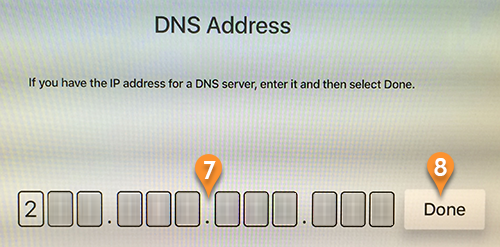
7. Enter Smart DNS servers addresses (7) and click “Done“ (8).
Click here to check HideIPVPN DNS server addresses.
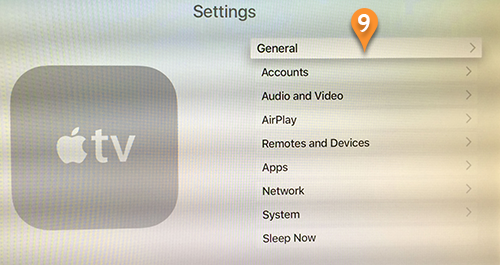
8. Now you’ll have to setup Region Format. Go back Settings and select “General” (9).
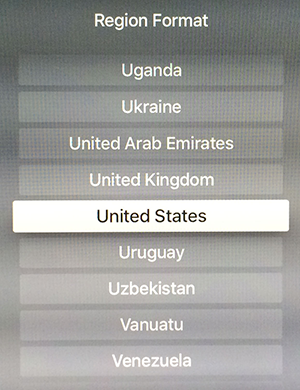
10. Scroll down to “Region Format” (10) and press on it.
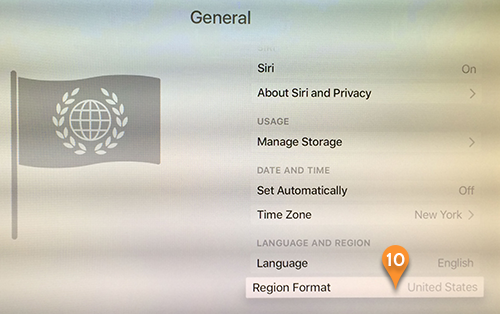
11. Select Region Format – United States.
Return back to the main screen. Go to Settings and select the Sleep Now command. Unplug the Apple TV power cord and wait 10 seconds. Then plug the Apple TV back in.
Now you’re done! Enjoy Smart DNS from HideIPVPN!