HideIPVPN software for Windows XP and Vista
Last updated on June 4th, 2019 in Setup
Important:This tutorial is valid only for Windows XP and Vista users .
We do recommend you to upgrade your system to Windows 10. For Windows version higher than XP and Vista please check this tutorial.
Welcome to HideIPVPN! This tutorial will guide you through installation process of Windows VPN & Smart DNS software.
This tutorial has 3 main parts. You can press bellow to go to the part you want or just scroll down to see all the instructions.
1. How to setup HideIPVPN software for Windows.
2. How to connect to VPN using HideIPVPN software
3. How to connect to Smart DNS using HideIPVPN software
First you need to download VPN software v.40.0.4 from here.
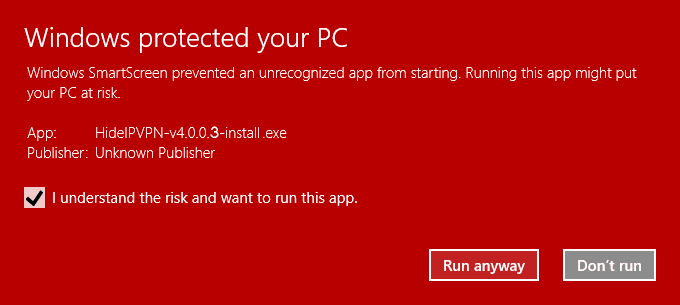
Once downloaded start to setup. If the following prevent window appears please check “I understand the risk and want to run app” and press “Run anyway”.
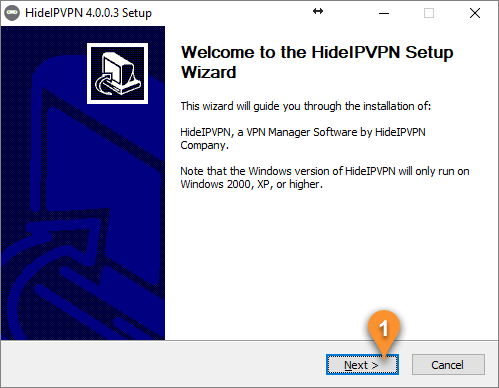
1. Then press Next (pin 1).
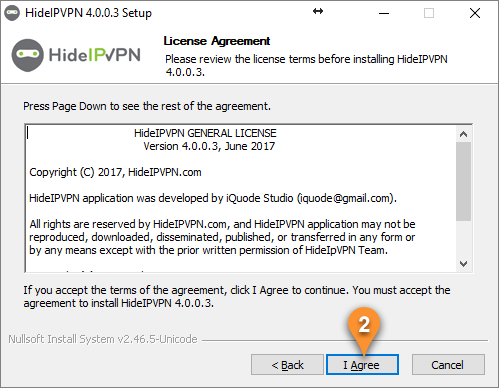
2. Please read License Agreement and if you agree click on the “I Agree” button to continue (pin 2)
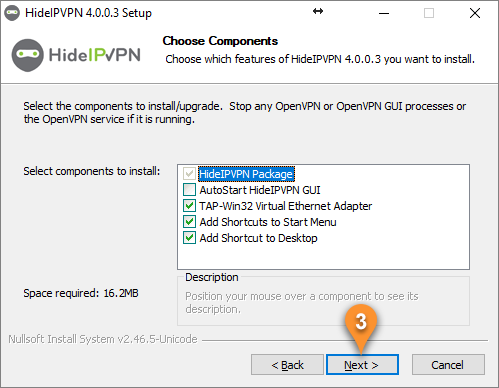
3. Click Next( pin 3)
4. Select destination folder and press the “Install” button (pin 4)
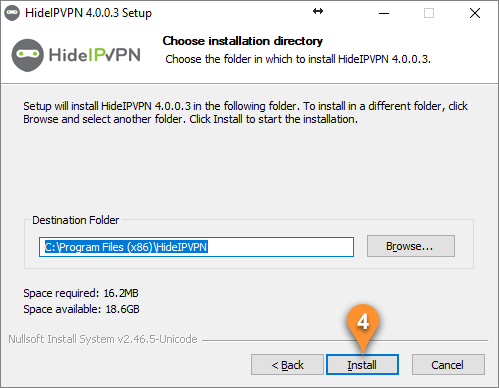
4.1 If the following pop-up window appears, please check “Always trust software from “OpenVPN Technologies, Inc.”, then click on “Install” button.

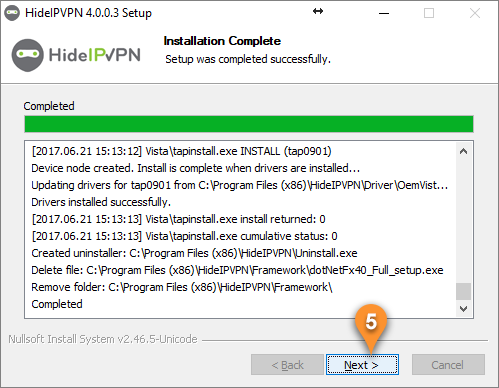
5. Once completed click Next (5)
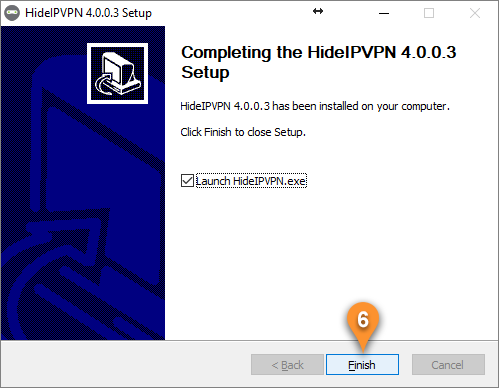
10. Then press Finish (10)
If you want to connect to Smart DNS, just skip this part and go to the Part III – How to connect to Smart DNS
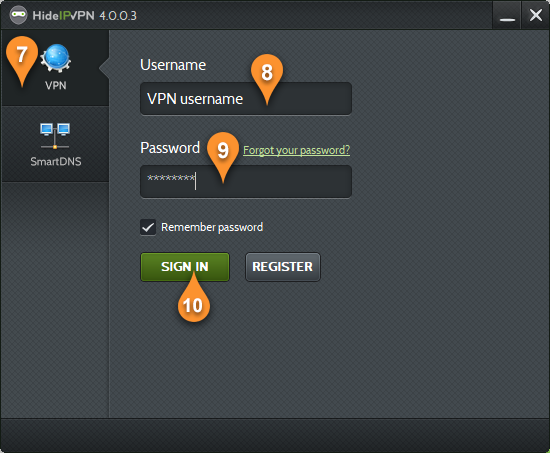
1. To connect VPN select VPN tab (pin 7), then enter your VPN Username (pin 8) and Password (pin 9) as it is shown in the image below and click Sign in (pin 10).
2. Once you’ve signed in you’ll have the possibility to select VPN Protocol (pin 11) and choose a country from our list of VPN locations (pin 12). After selecting the country you can sort servers by speed and choose the nearest server to you to connect (pin 13). Once you’ve selected settings, just press CONNECT (pin 14).
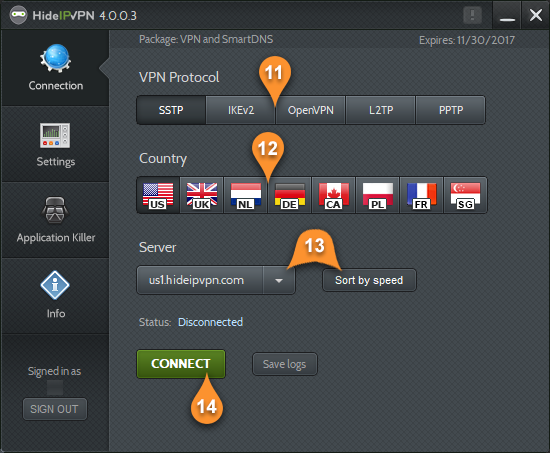
3. After establishing connection, status will be changed to Connected. Red button will appear with the name DISCONNECT. Click it to disconnect from VPN.
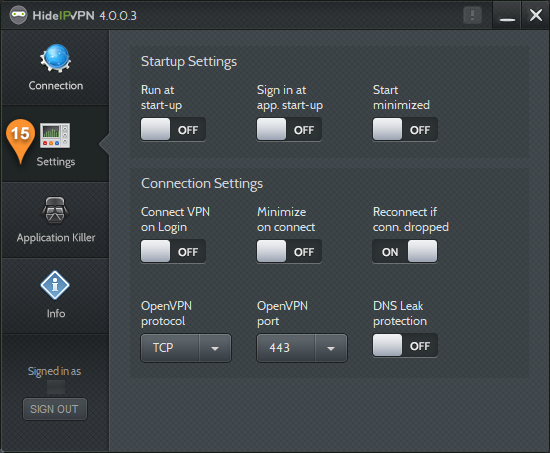
4. Don’t forget to choose additional options in Settings (15), like:
– Run at startup, Start minimized
– Setup auto connection on Login or Reconnect if connection dropped.
– Choose OpenVPN protocol and port
– And the newest added feature DNS leak protection.
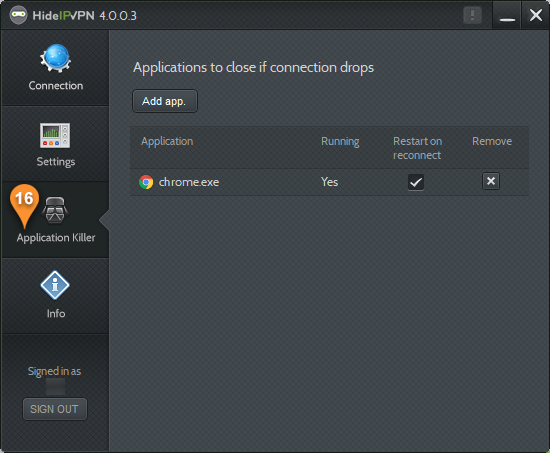
5. And of course use our Application Killer (16) to close selected apps when you loose VPN connection.
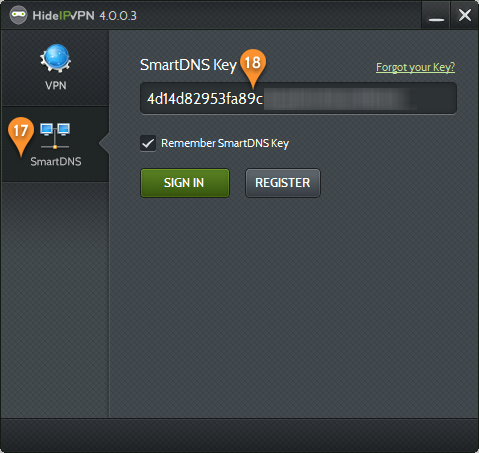
1. To use our Smart DNS services, please choose the “Smart DNS” tab (pin 17). Then type your Smart DNS key (pin 18). To find your SmartDNS key please login to your “Client Area” the go to “Packages” and select your active package. Then in Smart DNS tab you will fin your SmartDNS key. Once done click “Sign in”.
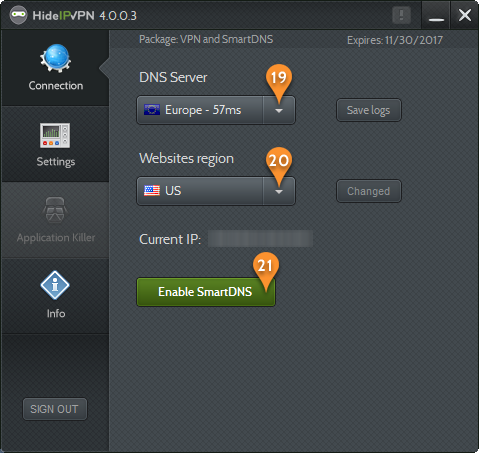
2. Once you are logged in, select DNS Server you want to use (19) (for better result choose DNS closer to your physical location). For “Websites region” (20) choose the region that will be used for multi-regional websites. Once done press Enable SmartDNS.
3. When finished just press Disable SmartDNS
4. In Settings tab (22) you can select next features:
– Run at start-up
– Sign in app at start-up
– Start minimized
– Minimize when SmartDNS is enabled.
– Frequency for updating your IP. This is important when you ISP often changes your IP address.
– And Enable Smart DNS on Sign IN

Thank you for choosing HideIPVPN!